Make an Embroidered Dream Catcher
I'm going to show you how to frame your embroidery right in the hoop, and make your own embroidered dream catcher style wall hanging. I've made lots of these and they are each unique and different, you can use these techniques to create your own, one of a kind hoop art.
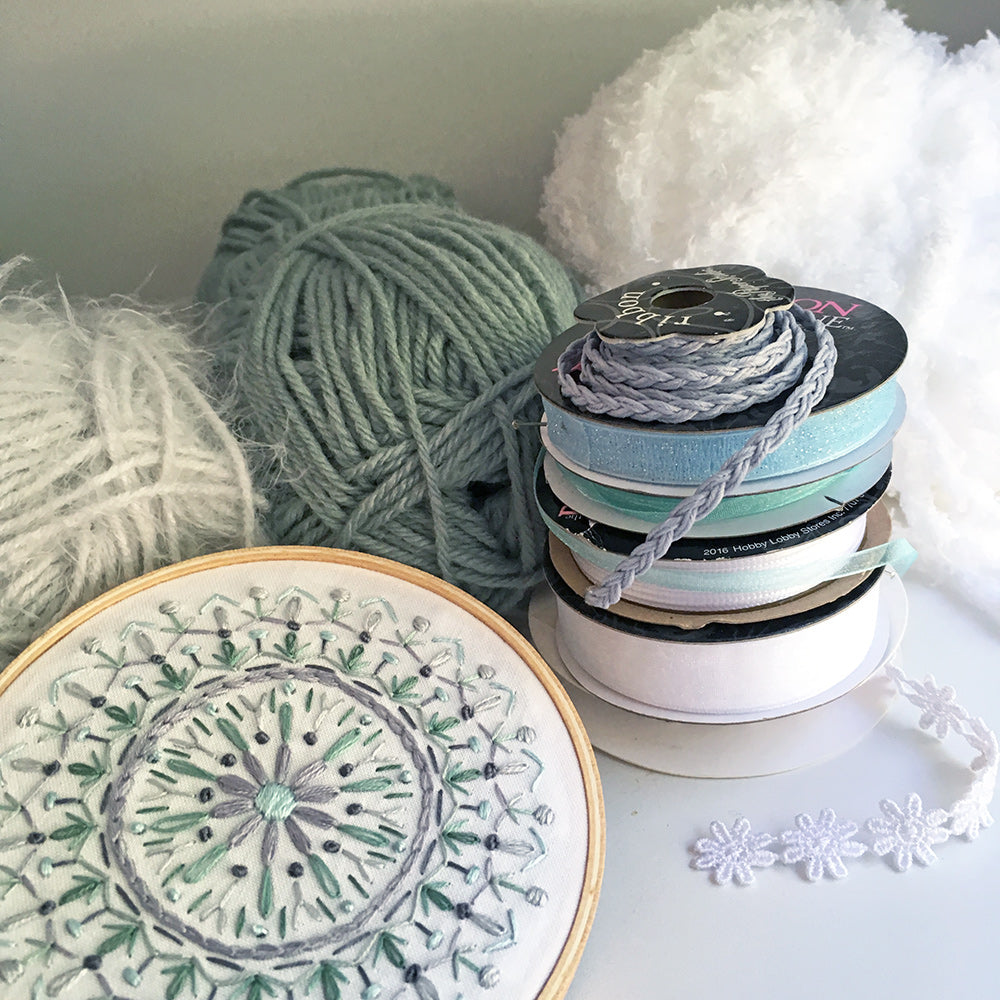
The embroidery I'm using is my Mini Mandala design, you can stitch one up in your favorite colors! It is available in the little dear shop as both a PDF download and printed fabric sampler.
Gather your supplies: you'll need a wooden embroidery hoop, stitched fabric, and a variety of ribbons, yarn and trims to match (the more the better) for the tail of your dream catcher.
Try searching Etsy for "trim lot" or "trim grab bag", it's a good way to get a variety of ribbons, lace, etc without buying entire spools!
You'll also need white craft glue. (My Mini Mandala Sampler fits perfectly into a 4 inch hoop.)
Start by stretching your embroidered fabric tightly onto the hoop, making sure the design is centered. Trim the fabric around the edge to about 3/4 inch, spread some craft glue on the inside of the center hoop, and fold and press the fabric around the back.
Let the glue dry completely, and then you can remove the outer hoop. As you can see, I don't try too hard to keep my backsides very neat and tidy. :) If you like, you can cut a circle of white felt to fit inside the hoop and cover the back.
Choose a 1/2 to 3/4 inch ribbon to wrap the outer hoop with. Wrap and glue the end of the ribbon to the top of the hoop next to the screw, spread a thin layer of glue along the inside edge of the hoop and begin wrapping the ribbon around the hoop at a slight angle. Overlap the edges of the ribbon just a bit and continue glueing and wrapping until you reach the other end of the screw. Secure the end with a pin or clip until it dries.
Now you get to create the tail of the dream catcher! You have a lot of freedom here, choose your favorite materials and make it as long or short, and as full as you like. Since my hoop is small, I decided to make the tail on this one fairly short at about 12 inches. Begin by selecting a wide or distinctive trim or ribbon for the center and cut a piece twice as long as you want the tail to be.
To attach each piece of the tail, fold it in half at the center, put the loop through the hoop, then pull the two ends through the loop and pull it tightly making a knot around the hoop.
Some ribbons and yarns will hold with just a knot, but some, especially thin or satin ribbons may come loose. You can secure them tightly by adding a tiny stitch or two through the knot right beneath the hoop.
Make sure your center piece is directly below the screw and then continue adding more pieces to either side. I like to vary and alternate textures and colors as much as possible! You can also add braided or crocheted strands. Make it full of tactile interest. Once the tail is as wide and full as you like and each piece is knotted and secured, unscrew the screw and replace the embroidery art in the outer hoop.
Chances are your tail strands are uneven, so hang up your dream catcher and trim them to the lengths you need. I like to leave the center ones longest, and cut the side ones a bit shorter, creating a V shape at the bottom.
Now it's time to add some feathers. You can, of course use real ones, but I like to make my own from paper or felt. You can add some splashes of paint to watercolor paper to match your color scheme. (It's best to paint before cutting.) Then cut out your feather shapes and stitch them directly onto the ends of some of the ribbons of the tail.
You can also add beads, tassels, pompoms or any other charms you like to your tail.
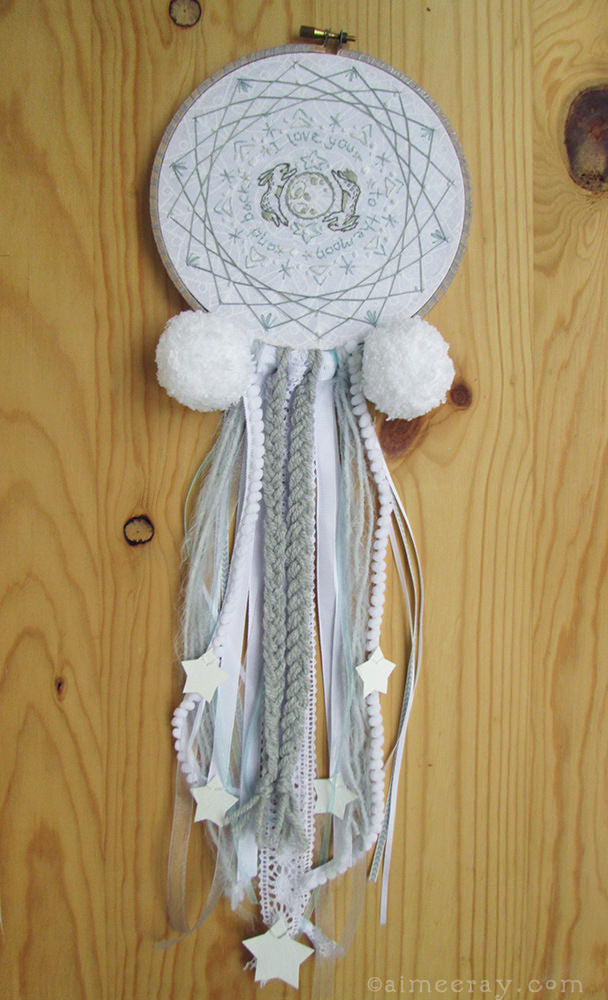
Here is my finished dream catcher! And also a few others I have made with different tail variations (click to enlarge.) I hope you'll enjoy making your own. Let me know if you find this tutorial useful, I would love to see what you make!
You can find all of the embroidery patterns and sampler designs shown here in the little dear shop, and many more that are perfect for making dream catchers. See you there!


